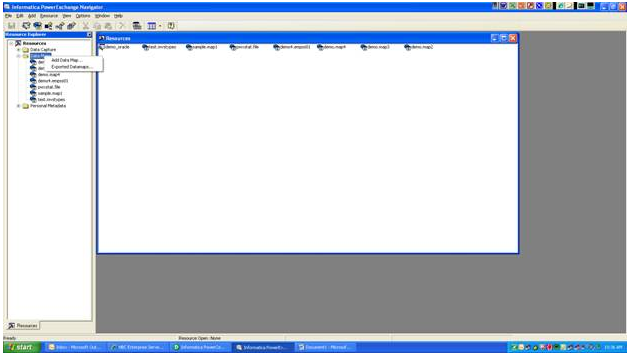
In the Navigator tool, highlight “Data Maps”, right click, and select “Add Data Map.
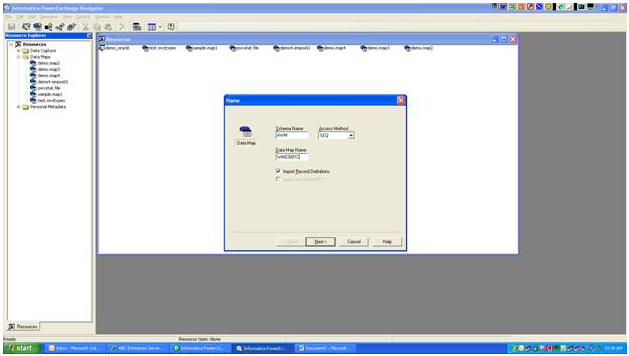
Fill in the dialog boxes, specifying the mainframe file for which you want to create a datamap. Use the same name used for the cobol copybook in partitioned dataset ASTLB.PRD.COPY.
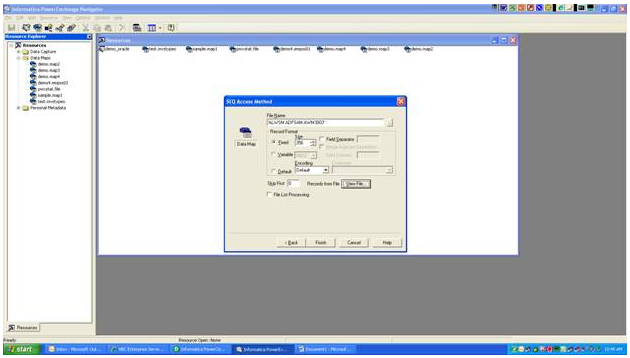
Specify the dataset name, file format (i.e. Fixed or variable length), the max length of records, and field separators if any.
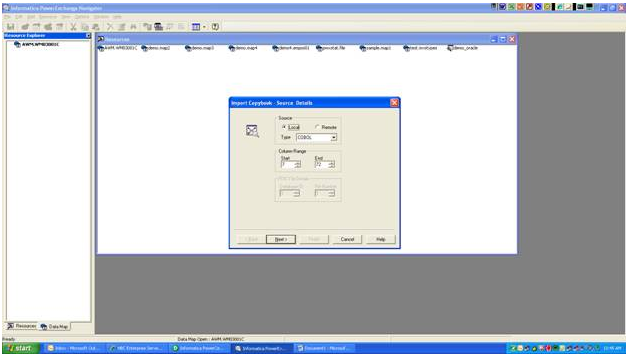
Next we get the copybook for this file. Copy the file layout from the mainframe to your local hard drive using the Blue zone file transfer utility. Make sure the next Navigator screen is filled out as below, selecting characters from columns 7 thru 72 (it’s a Cobol thing).
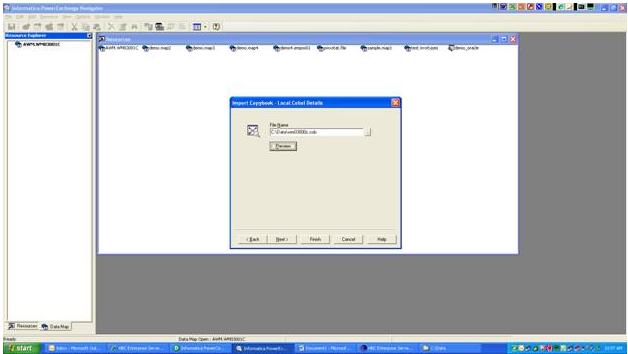
Specify the location where you saved the copybook, on your local hard drive.
Keep the default values as shown below.
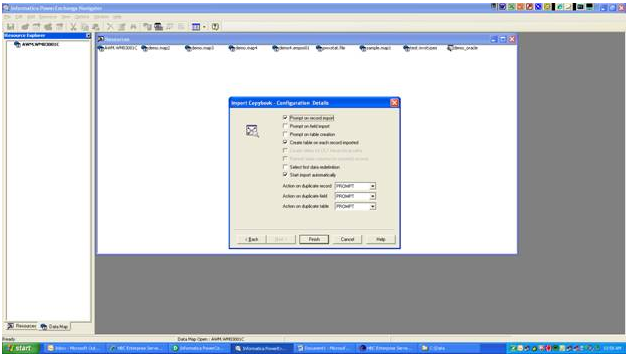
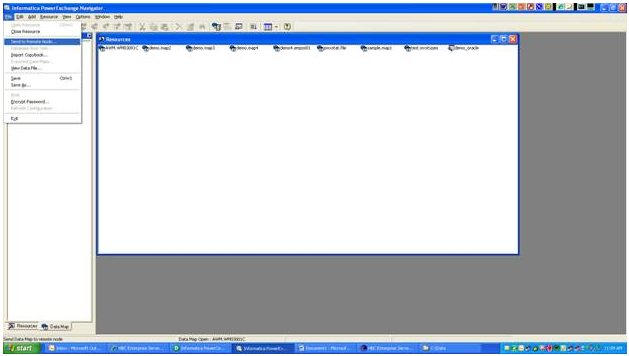
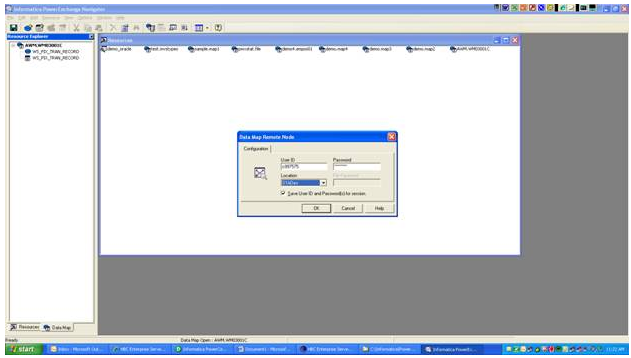
Click “finish”, and “OK”. You have now created a “Data Map” for this mainframe file. Close the “Cobol import” box in Navigator, and you can see the data map which includes a record layout as well as a table definition. This is Navigators translation of a Cobol file layout into something that Informatica PowerCenter can work with. However, at this point, it only exists on your hard drive. Now you must send it to PowerExchange on the mainframe, which is referred to as “send to remote node” under the FILE tab, or you can click the icon on the toolbar.
Type in your user id and password, and select the PowerExchange location where you want to store your data map. For the development instance running on the IBM mainframe in Toronto, we select “S1ADev”.
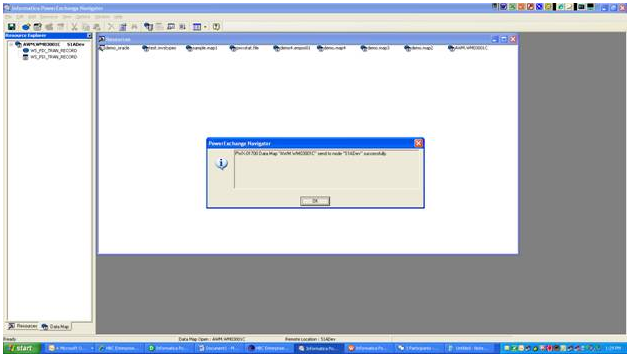
Message below indicates that the data map was successfully stored on the mainframe.
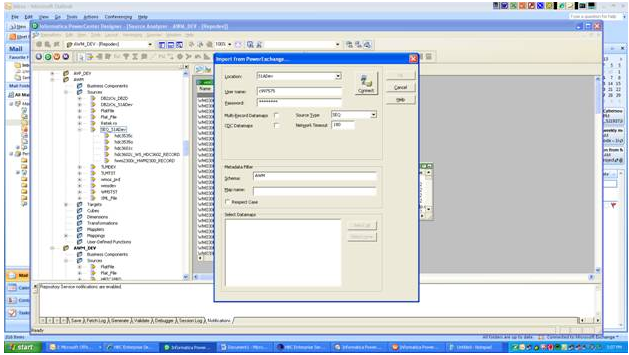
Now, in PowerCenter Designer, we can import this data map as a source and/or target. Open ‘source analyzer’ and under the ‘sources’ tab, select ‘Import from PowerExchange’. Then fill in the details to log on the mainframe and select your data map.
